
A premium aluminium bifold or sliding door can only perform as well as the opening prepared for it. This structural opening preparation guide explains what needs to be agreed before manufacturing starts, from accurate finished dimensions to lintel support, floor levels and weatherproofing details. Getting these points right avoids the costly site fixes that can delay an extension or compromise the finished appearance.
Start with the finished product, not the brickwork
The structural opening is the clear aperture formed in the wall once the lintel, jambs and floor construction are complete. It is not simply the rough gap measured during an early build stage. Aluminium systems are manufactured to suit the agreed opening, the glazing specification, the configuration and the installation method, so the dimensions need to be confirmed when surrounding construction is stable.
For bifolds, this includes the number of panels, traffic-door position, folding direction and whether the doors fold in or out. For sliding doors, it includes the number of tracks, fixed and sliding panels, interlock positions and the relationship between the frame and internal finishes. A three-track Cortizo COR Vision Plus sliding door, for example, has different frame and threshold requirements from a two-panel Smarts Visofold 1000 bifold door.
Do not assume the structural drawing dimension is automatically the final manufacturing size. Drawings often show the intended masonry aperture, whereas the door order must account for the actual site measurement, fitting tolerance, packers, sealant joints and any threshold build-up. A site survey after the opening is formed is the safest route for supply-and-install projects.
Structural support above the opening
Every external opening needs adequate support for the load above it. In a new extension, this may be a steel beam, concrete lintel or engineered timber detail specified by the structural engineer. In renovation work, particularly where an existing window opening is widened, temporary support and a correctly designed steel may be required before masonry is removed.
The door frame is not a structural beam. It should not be asked to carry brickwork, roof loads, cladding or a sagging lintel. Even a minor downward load can affect the operation of slim aluminium sashes, create uneven gaps and place stress on sealed units over time.
Allow sufficient bearing at each end of the lintel or steel, as specified by the engineer, and make sure the supporting masonry or posts are sound. If a steel sits within the wall construction, establish how insulation, cavity trays and damp-proofing will continue around it. A structurally correct opening that creates a cold bridge or a concealed water path is not a complete solution.
For larger spans, consult the structural engineer and glazing supplier early. Wide Schuco ASE80 sliding doors, multi-panel bifolds and corner-opening arrangements place particular emphasis on deflection control. The supporting structure must remain within the tolerances required by the door system, not merely avoid collapse.
Measure the opening accurately and check it is square
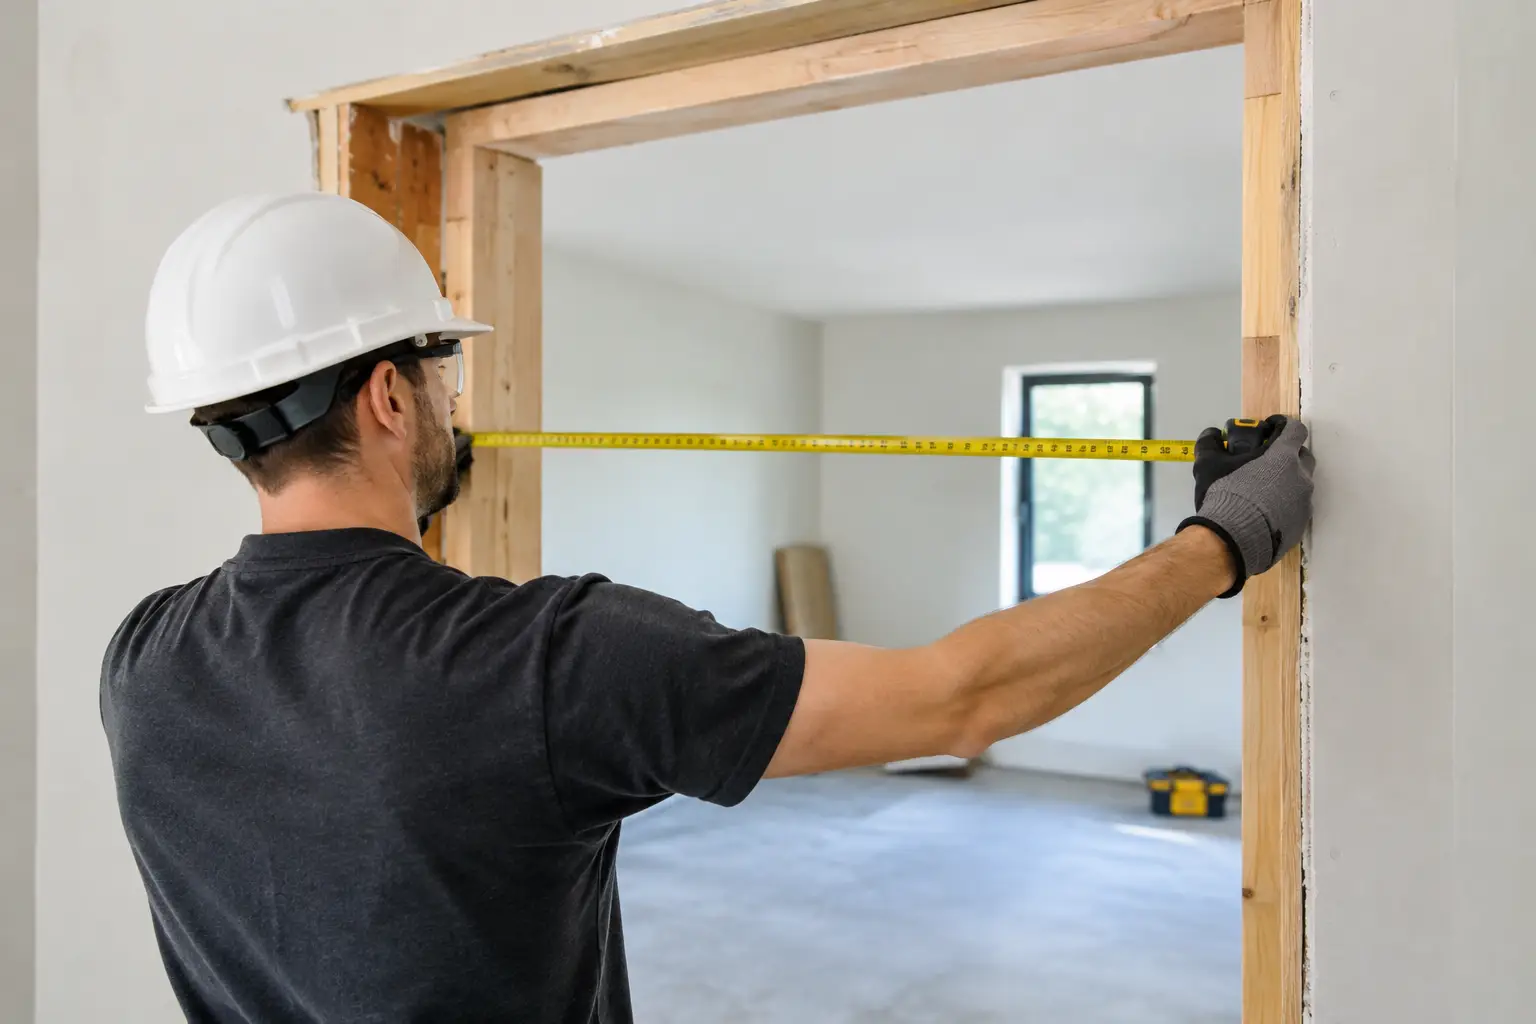
Measure the width at the top, middle and bottom of the opening. Measure the height on both sides and in the centre, then check both diagonals. The smallest width and height are normally the critical measurements, but the variation tells the installer whether the opening is plumb, level and square enough for the frame to be fitted correctly.
A laser level is useful for checking the head and threshold line. A long straightedge can reveal local high spots in blockwork, screed or render. Small discrepancies can usually be accommodated with packers and perimeter sealing, but major taper, twist or a dropped lintel should be corrected before installation.
The jambs need a firm, continuous fixing substrate. Loose blocks, weak masonry, poorly fixed timber studs or uneven steelwork make it difficult to secure a heavy glazed frame safely. Where cavity closers or insulated liners are used, confirm that they are suitable for the proposed fixing strategy. The fixings should engage the structural element, not rely on trim alone.
Build tolerances and fitting gaps
A door frame needs controlled clearance around it for installation, adjustment and weather sealing. The precise allowance depends on the system, opening size, substrate and survey specification. Too little room can force a frame out of square; too much can leave an oversized sealant joint and reduce fixing quality.
This is why opening sizes should never be guessed from brochure dimensions or a neighbour’s installation. A measured survey provides the manufacturing dimensions and sets out any preparation work needed before fitting day.
Set the threshold level before screed and paving
Threshold decisions affect accessibility, drainage, internal floor build-up and the finished view through the glass. They must be made before the screed, tiles, decking or patio are finalised.
A low threshold can create a clean transition between house and garden, but it still needs proper water management. External paving should generally fall away from the property, and the finished surface must not bridge the damp-proof course or obstruct drainage paths. Where the threshold is close to external ground level, a linear drainage channel may be required. The correct detail depends on the exposure of the elevation, local ground conditions and the threshold system selected.
Internally, account for insulation, underfloor heating, screed, adhesive and final floor covering. Externally, allow for bedding layers and the finished patio level, not just the current sub-base. It is far easier to adjust these layers before installation than to cut back a newly laid porcelain terrace because the drainage falls are wrong.
For doors opening outward, check that the external finish allows the sashes to move freely. For inward-opening bifolds, ensure furniture, radiators and floor transitions do not interfere with the folding stack or traffic door.
Continue insulation and weather protection around the frame
High-performance glazing cannot compensate for gaps in the surrounding wall build-up. Aluminium systems with thermal breaks and energy-efficient glazing provide strong thermal performance, but the connection between frame and structure matters just as much.
Insulation should return as close as practical to the frame to reduce cold bridging at the reveals and head. In cavity walls, use an appropriate insulated closer and continue the damp-proof course or cavity tray correctly above the opening. In timber-frame construction, the membrane, flashing and taped air barrier need a coordinated detail rather than an improvised solution once the doors arrive.
Externally, the perimeter seal must shed water away from the building. Internally, the seal should support airtightness and a clean finish. Foam alone is not an external weather seal, and a thick bead of mastic is not a substitute for proper flashing, cavity trays or drainage. The appropriate sealant, backing material and tapes depend on the substrate and façade design.
If render, cladding or brick slips are planned, agree the finished reveal depth in advance. Slim-frame systems look best when the frame is positioned deliberately within the wall line, with consistent internal and external sightlines. Last-minute changes to render thickness can turn a neatly detailed frame into an awkwardly recessed opening.
Prepare for safe installation and glazing
Large glass units are heavy and require clear access, safe handling space and a stable route from delivery point to opening. A restricted side passage, steep garden or upper-floor installation may require specialist lifting equipment. Raise this during planning, especially for oversized sliding panels and roof glazing.
Keep the installation area clear and protect completed flooring, kitchens and plasterwork. The opening should be dry, accessible and free from wet trades where possible. Fresh screed, uncured render and ongoing structural movement can complicate a precise installation.
For supply-only orders, the builder and installer should agree responsibilities in writing. Confirm who checks the opening, who provides lifting, who forms the threshold and who completes internal and external seals. For a supply-and-install project, an employed installation team can identify preparation issues at survey stage, but the surrounding building work must still be completed to the agreed detail.
A practical pre-installation check
Before confirming a fitting date, verify the following site conditions:
- The opening has been measured after structural work and is level, plumb and square.
- The lintel or steel is complete, independently supported and free from deflection concerns.
- Finished internal floor levels, external paving levels and drainage falls are agreed.
- Structural fixing grounds are available at the head, jambs and threshold as required.
- Insulation, cavity trays, membranes and perimeter sealing details are coordinated.
- Access, lifting requirements and a protected working area have been arranged.
These checks are not paperwork for its own sake. They protect the operation, security, weather resistance and lifespan of a premium glazing installation.
A well-prepared opening gives the frame room to be fitted precisely, the seals room to work and the threshold the drainage it needs. Before ordering or finalising building finishes, share the proposed opening detail with your glazing specialist and structural engineer. That conversation is usually the point where an ambitious glazed opening becomes a reliable, high-performing part of the home.